Top Troubleshooting Tips for Kids Electric Ride Ons & Pedal Toys
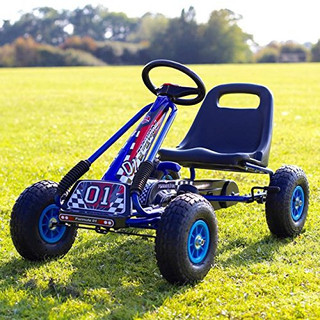
Kids’ Pedal Go Kart Issues 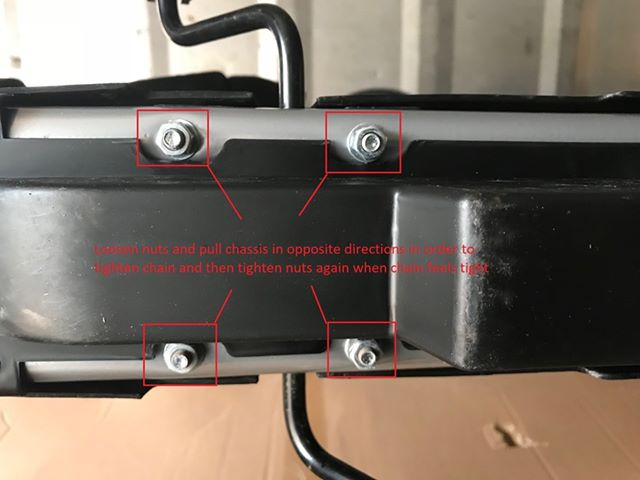
Chain Tensioning Fix
- Loosen the axle nuts.
- Gently pull the chassis apart to tighten the chain.
- Once tension feels firm (not too tight), re-tighten the nuts.
Wheel Fix (Uneven Wheel) 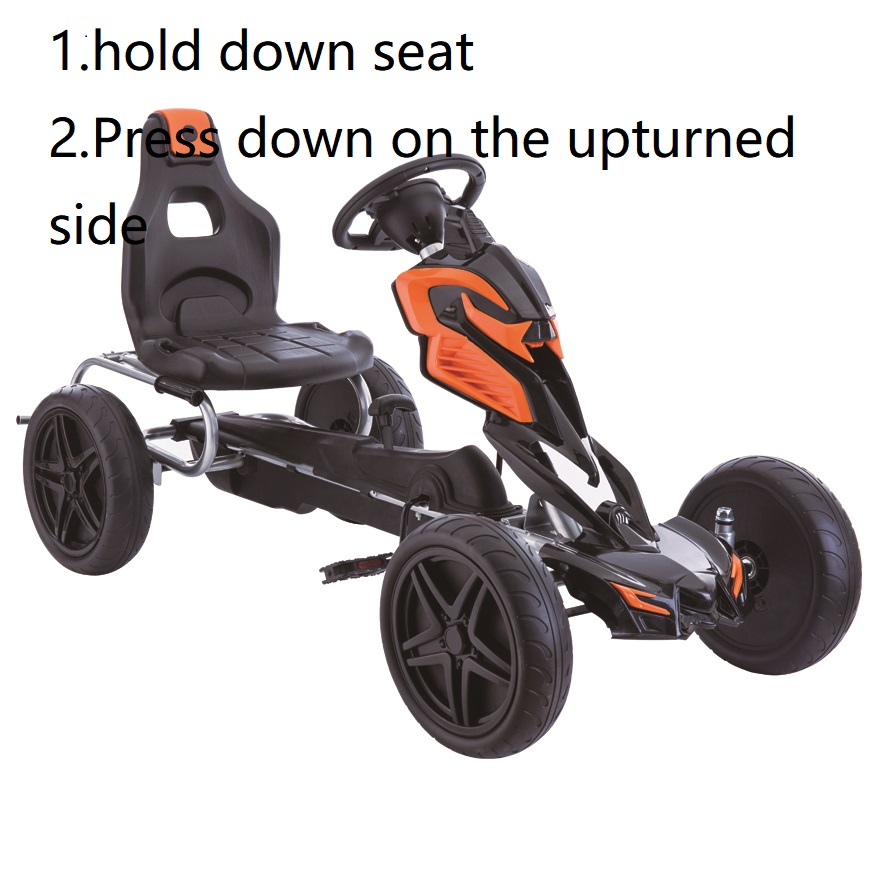
- Hold down the seat firmly to stabilise the kart.
- Press down on the side where the wheel is lifted or uneven.
- This resets and levels the wheel for smoother riding.
Kids Electric Ride On Toys Issues
Charger Light Indicators
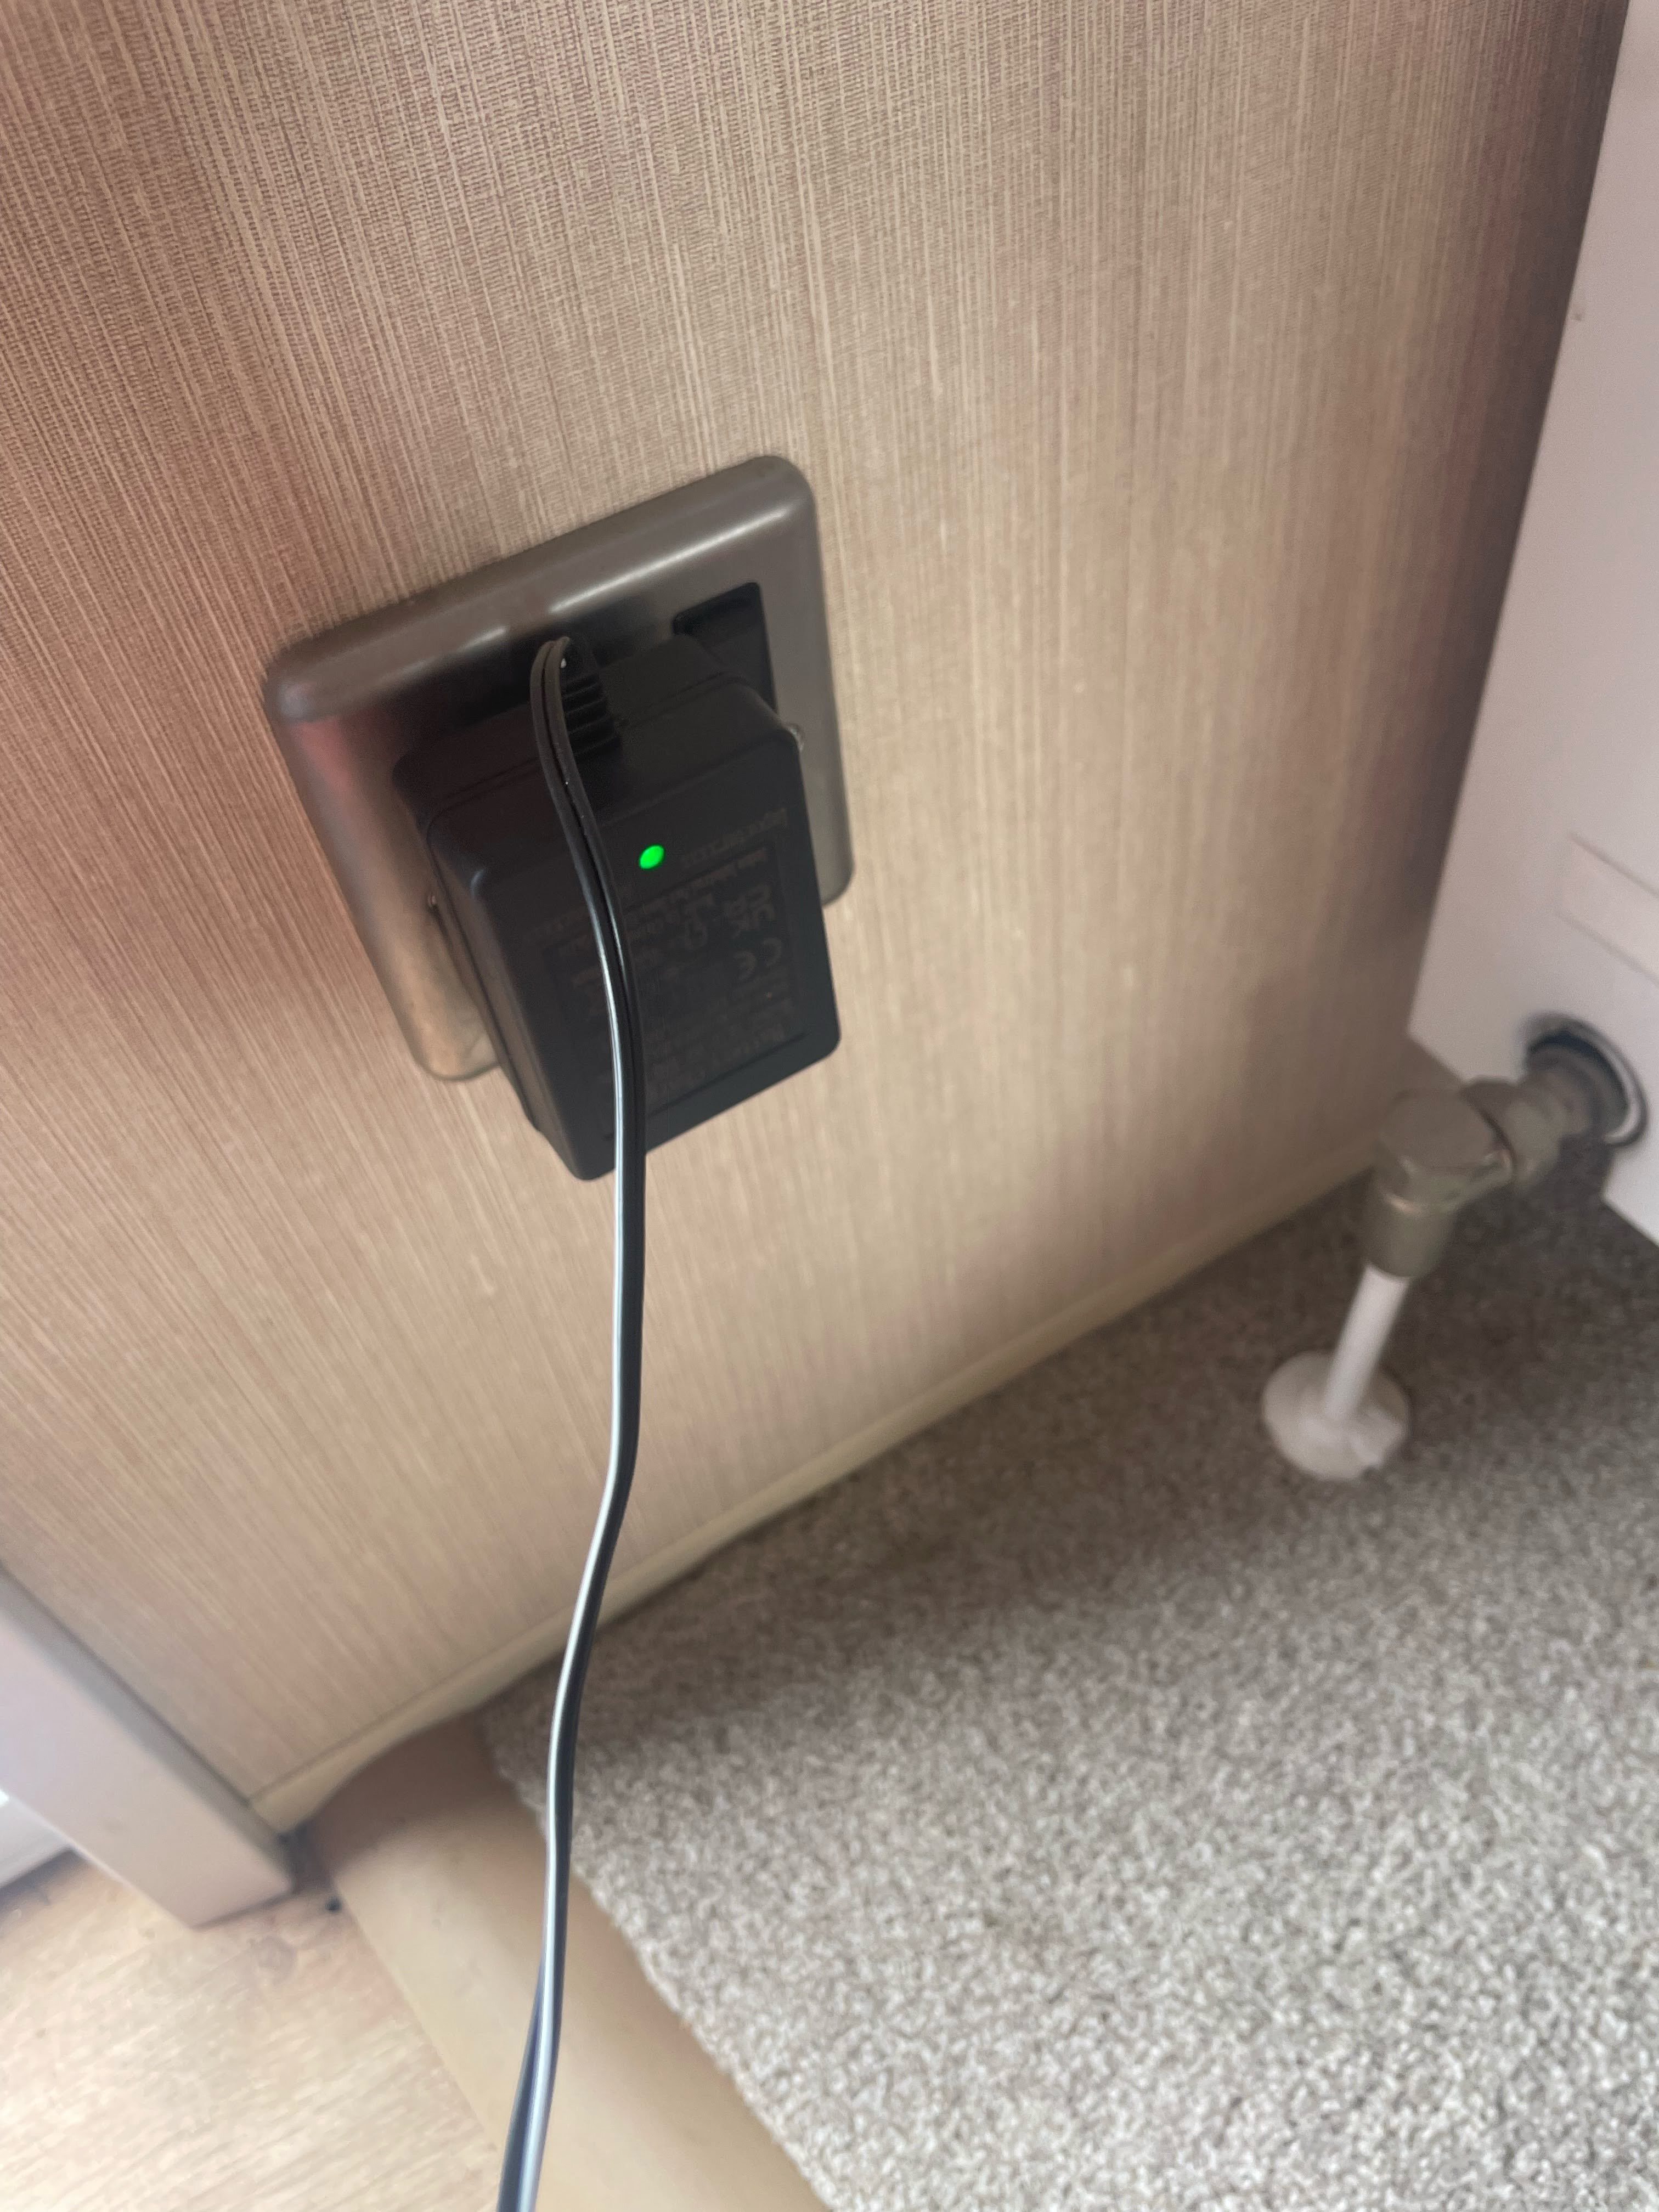
Green = Fully charged. Orange = Mid-way charging. Red = Battery empty or charging just started.
Charging Time Guidelines (6V, 12V, 24V)
- Charge maximum 10 hours – never exceed!
- Unplug when fully charged – don’t leave overnight!
- Use the correct charger only – replace with same type if lost.
- Proper charging = longer battery life + better performance.
Charger Temperature Check (6V, 12V, 24V)
- Slightly warm after charging = normal.
- Too hot = possible faulty charger, wrong model, or bad battery.
- Completely cold = charger may not be working, or battery is dead/disconnected.
- If too hot or cold, stop using and replace to avoid damage.
Battery Reading From Dashboard (6V, 12V, 24V)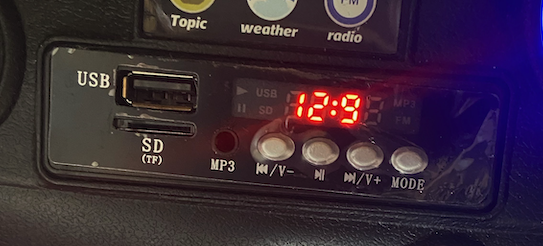
- Switch on the ride-on toy.
- Dashboard displays battery voltage.
- For accurate long-term checks, use a voltmeter.
Battery Wires and Connections Fix
- Turn off and unplug the ride on toy before checking anything.
- Inspect all wires for damage, corrosion, or loose connections.
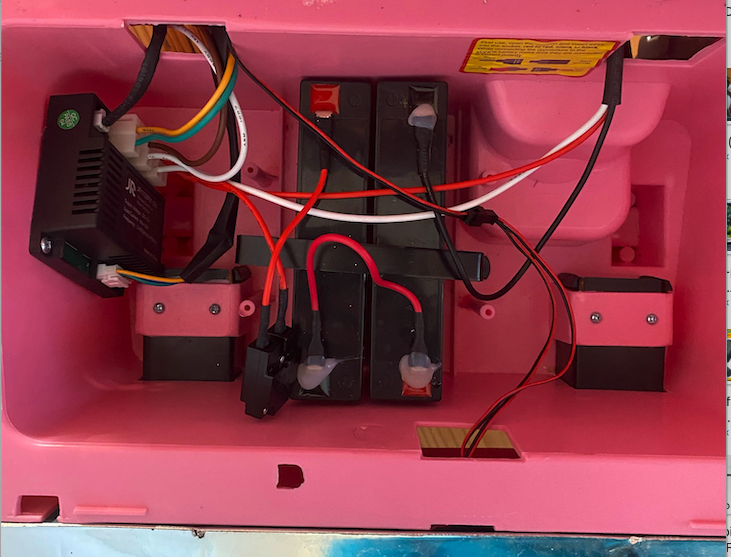 Tighten any loose terminals — ensure battery clips are snug and secure.
- Clean corroded terminals.
- Check connector plugs between battery and control board — push firmly to reseat.
- Replace frayed/damaged wires immediately to avoid safety risks.
- For series type: Connect red to black between batteries: Positive (+) to Negative (–). Then use the free red and black terminals for your power output.
- For parallel type: Always reconnect red to red (+) and black to black (–). Positive (+) to Positive (+) Negative (–) to Negative (–). Use any red and black pair for output.
- If unsure, consult your ride-on manual or contact our technical team via sales@funstuff.ie.
- Never test connections while the vehicle is powered on.
Remove Old Batteries and Install New Batteries
- Locate battery compartment (usually under seat or hood).
- Use screwdriver to remove all screws.
- Carefully lift and remove the battery cover.
- Disconnect wires from old batteries.
- Remove old batteries.
- Connect red wire to red terminal on new battery.
- Connect black wire to black terminal on new battery.
- Replace the battery cover.
- Screw it back into place securely.
- Turn on the ride-on car.
- Ensure battery is connected and working properly.
Pair Your Ride On Toy with Remote Control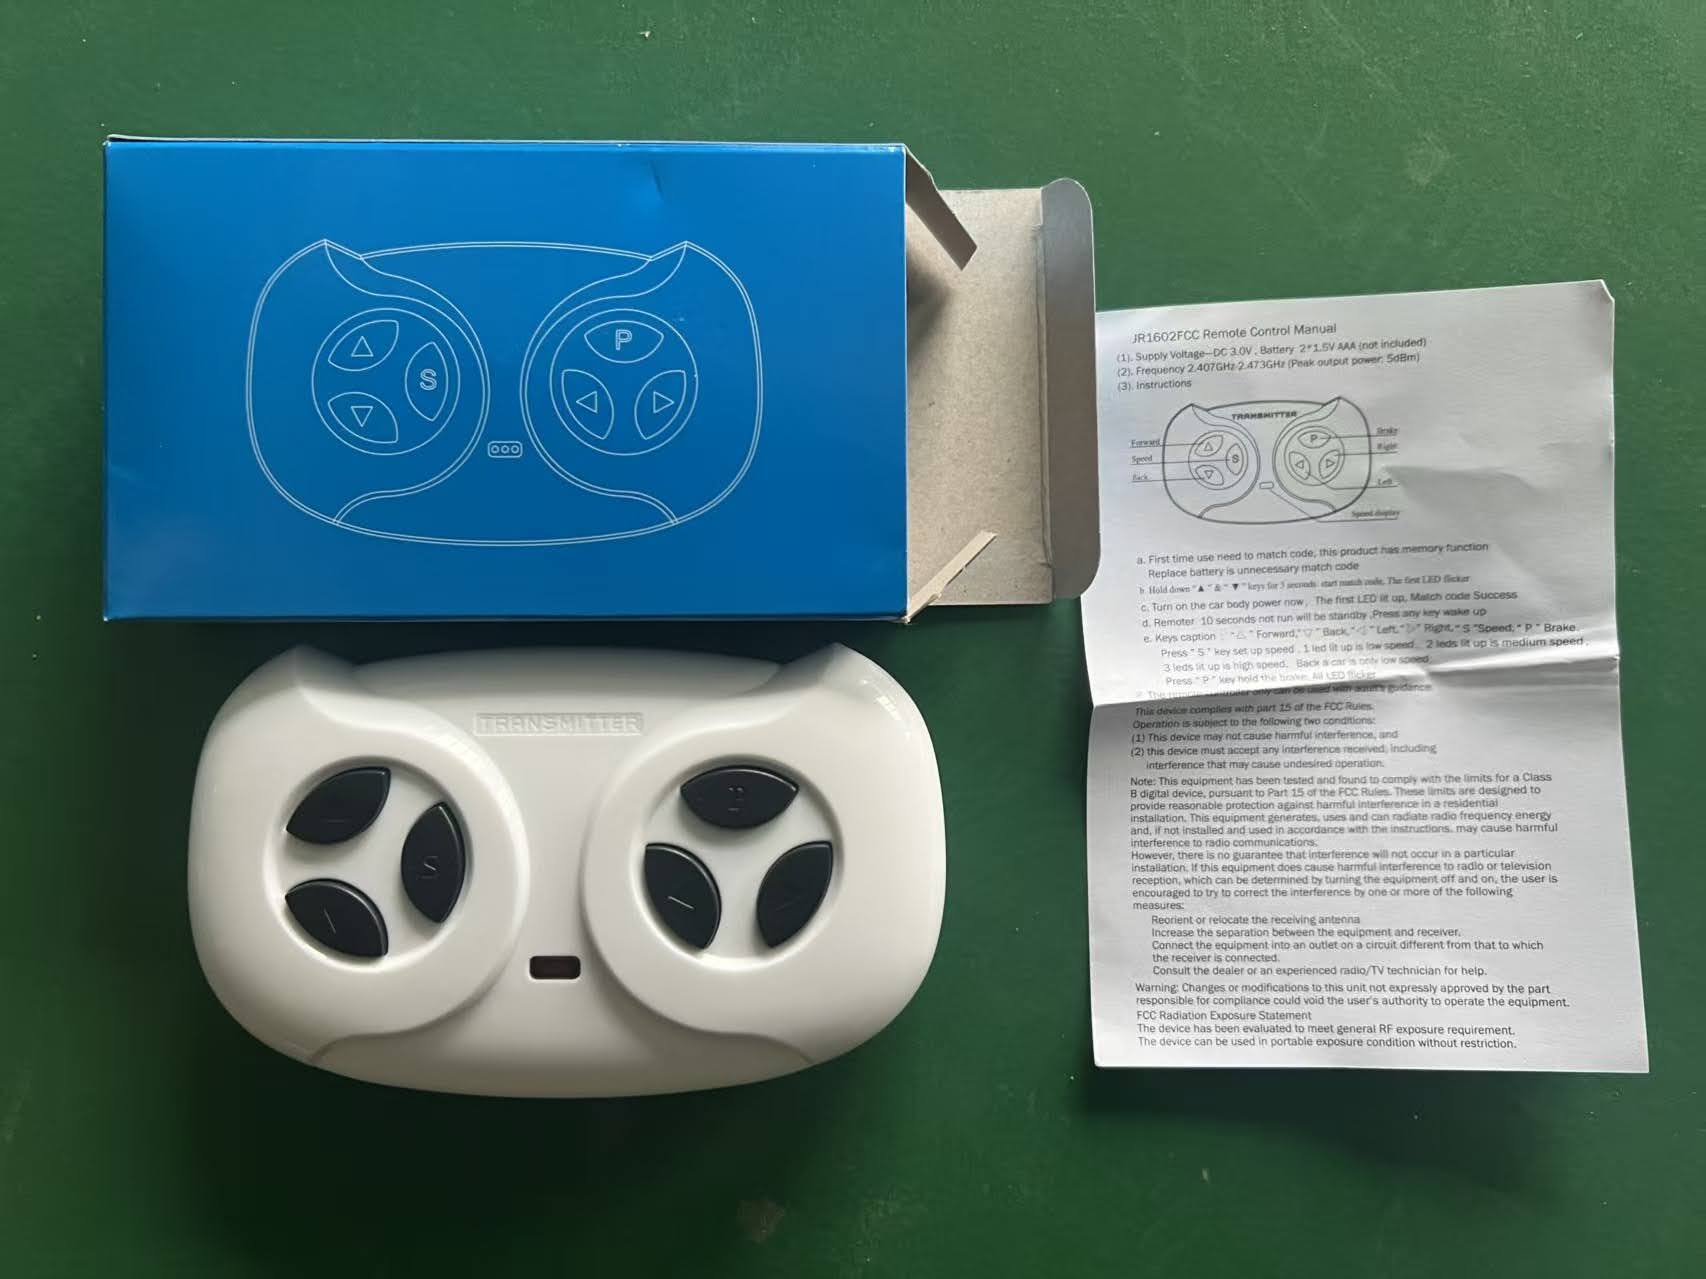
- Hold forward and back on remote until it flashes.
- Turn on the car.
- Hold forward and back again to pair.
Yellow Wire Disconnected Under Bonnet – Is This Normal?
Yes, this is normal. Yellow wire is the remote-control receiver aerial. It should not be connected to anything.
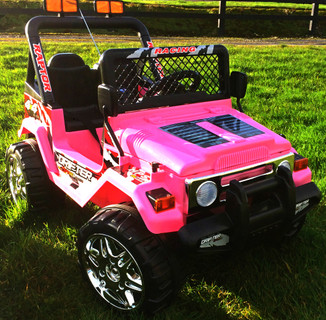
Drifter Raptor 12V Jeep – Locate the Charging Port
Under the dashboard. 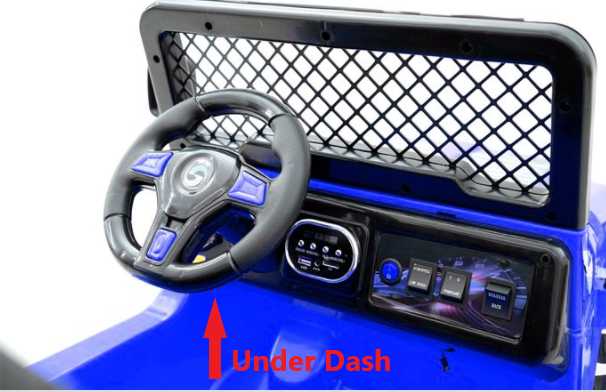
Identify the Number of Pins on Your Foot Pedal Switch 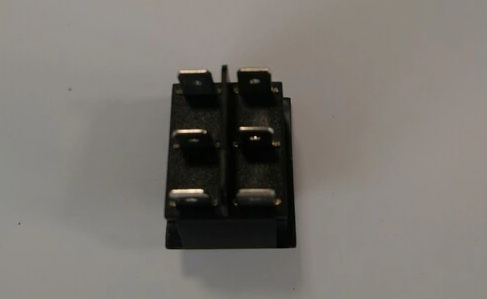
Open the foot pedal cover case. Unscrew foot pedal from underneath.
Count the total pins on the switch.
How to Remove and Install an On/Off Switch in a Ride-On Toy Car
Safety First: Always disconnect the battery before starting to avoid shocks or damage.
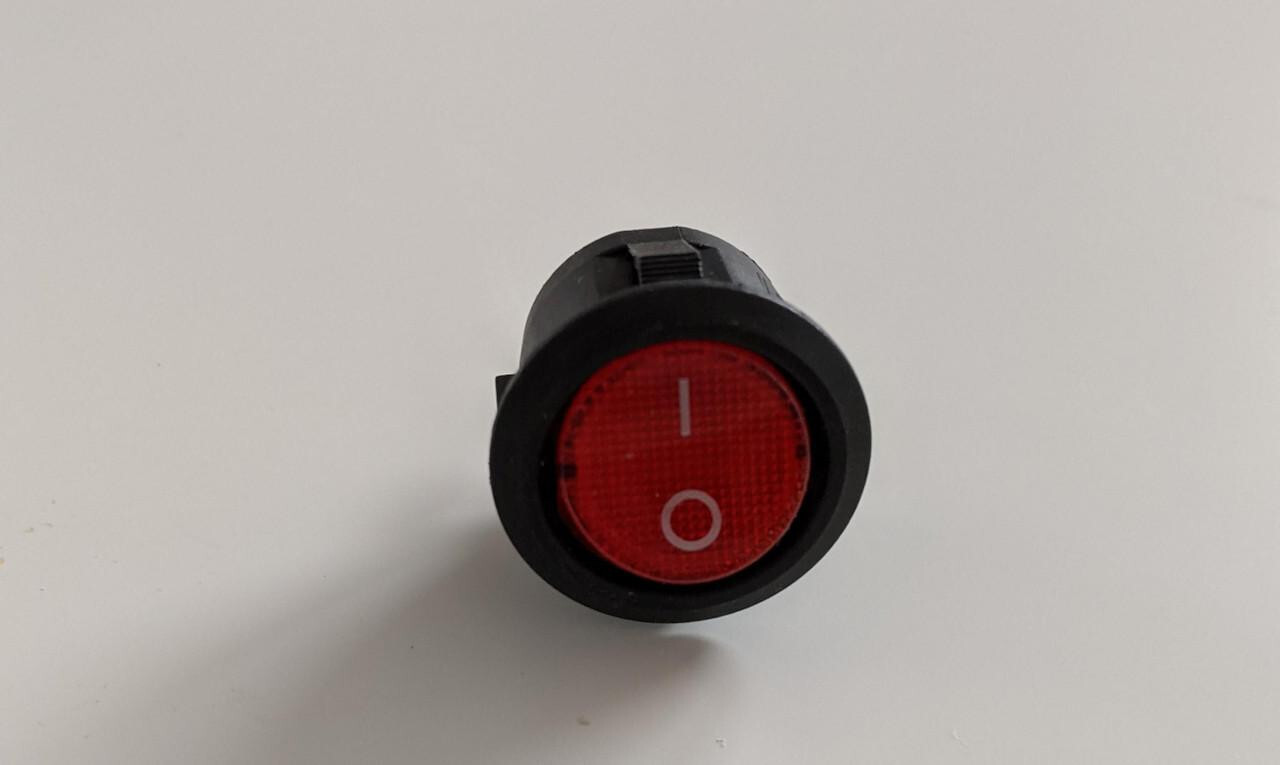 Removing the Old Switch:
- Unplug the battery completely.
- Open the dashboard panel by unscrewing or unclipping it.
- Locate the on/off switch and take a photo of the wiring setup for reference.
- Disconnect the wires from the switch.
- Remove the switch, usually by pressing in the side clips and pushing it out.
Installing the New Switch: 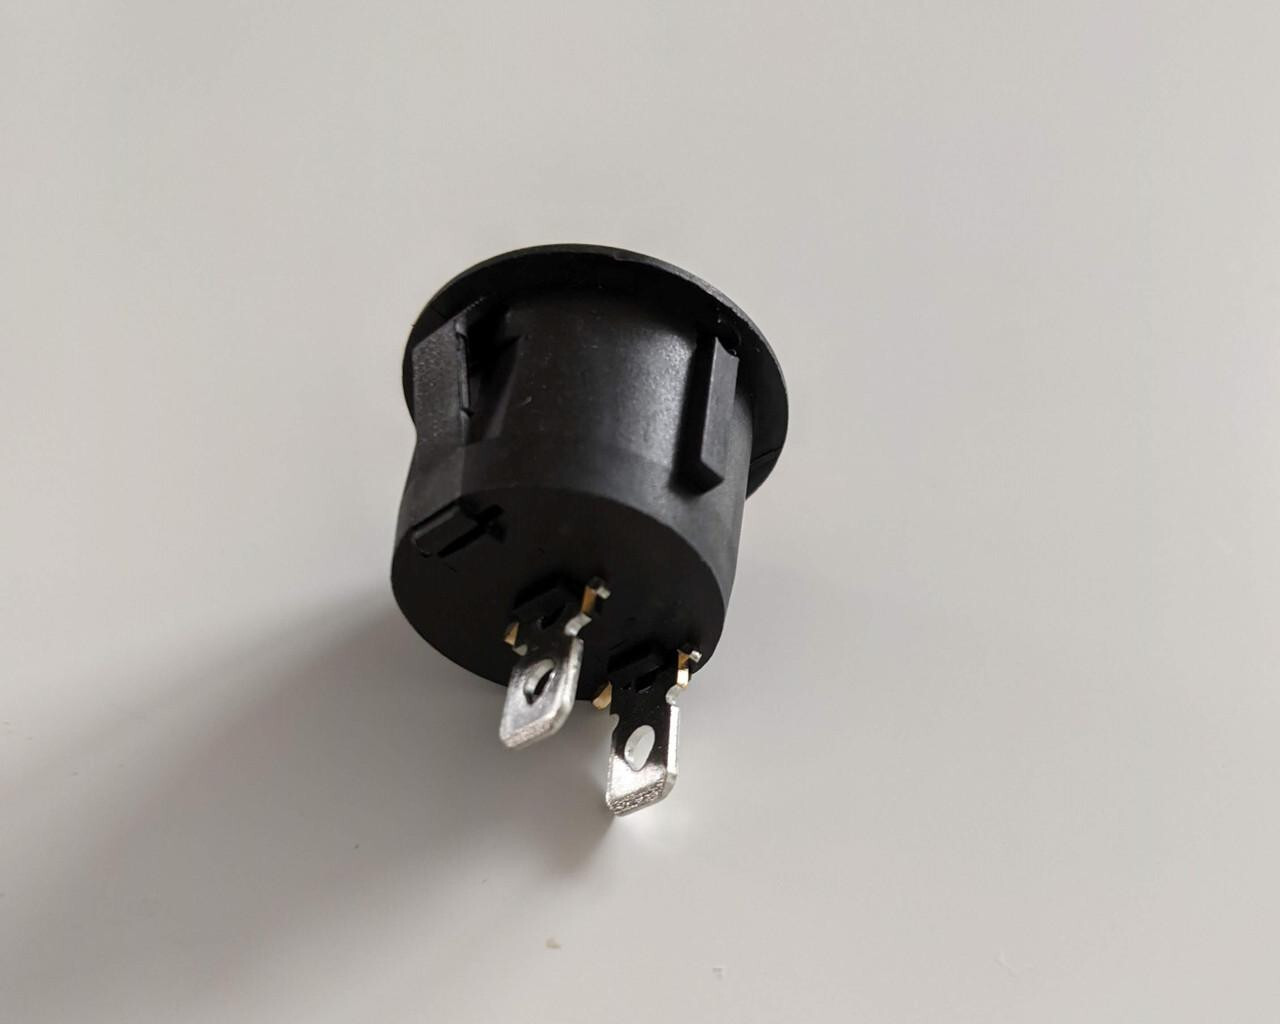
- Insert the new switch into the same slot.
- Reconnect the wires using your reference photo.
- Reconnect the battery and test the switch.
- Once confirmed working, reassemble the dashboard panel.


